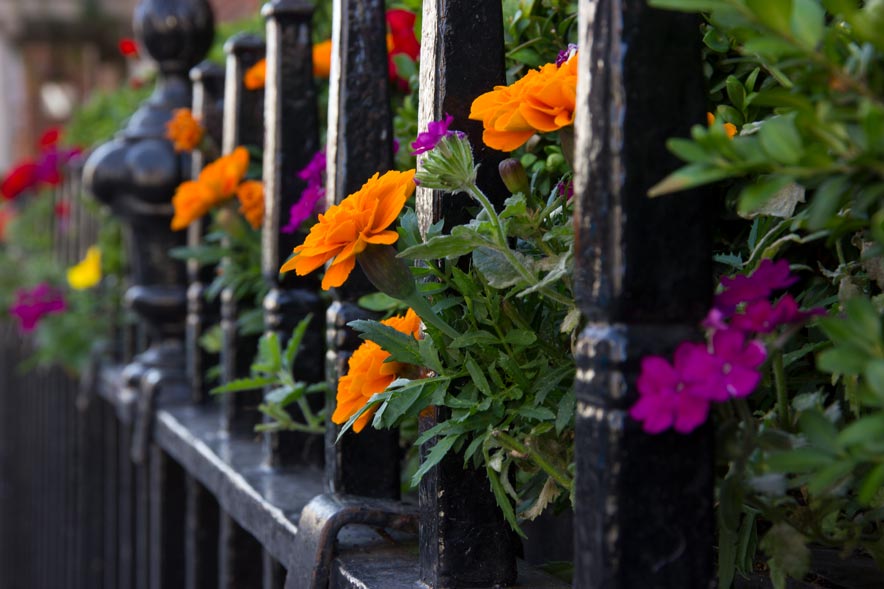
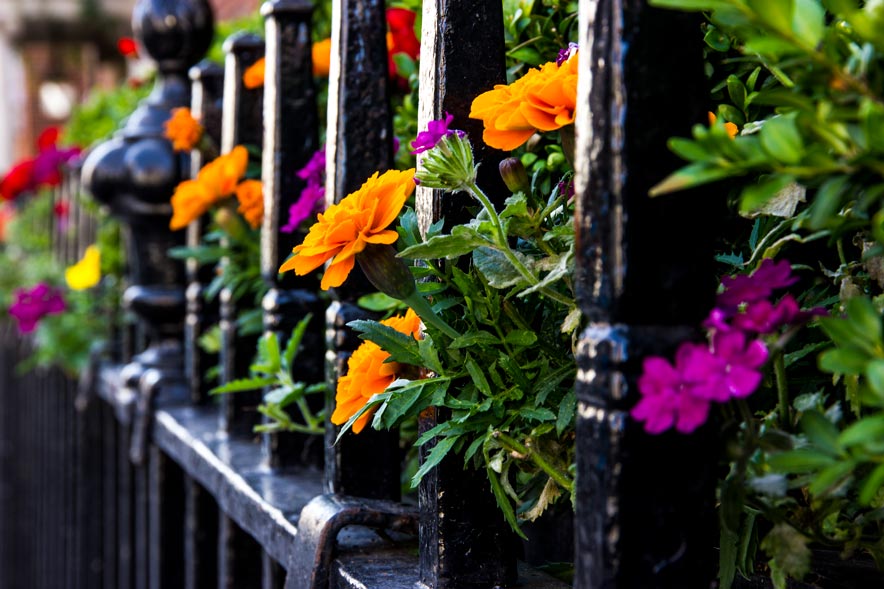
Here at Amplify Creative we prefer to shoot our photographs in RAW format – it is the format of choice for professionals with good reason. The power it gives us in post production is a wonderful feeling – It’s magical! In this article I hope to inform and excite you about some of the main benefits you can achieve by taking your photographs in RAW, turning average snaps into vivid eye-catching moments in time and, with relative ease:
So what is RAW?
RAW is a file format that captures all image data recorded by the sensor when you take a photo. When shooting in a format like JPEG image information is compressed and lost. It is the ability to access and control this extra image data that makes shooting in RAW so powerful. Because no information is compressed with RAW you’re able to produce higher quality images, as well as correct problem images that would be unrecoverable if shot in the JPEG format. The only drawback you need to be aware of is the file size of the photos – RAW images use up far more space then their compressed JPEG equivalents, running easily into 20-50mbs depending on camera sensor size (Megapixels).
Don’t I need a professional camera and editing software?
Not necessarily…
You may be surprised to know that your digital camera probably can take RAW photos! You don’t need a DSLR Camera to shoot in RAW, as many digital cameras support this format, including point and shoots! Just have a flick through your camera’s settings or consult the manual.
As for processing your photos, you don’t have to spend money on professional editing software, unless you want to of course! There are plenty of cheaper or free options out there to help you process your photographs. Here’s a useful article reviewing some of the best alternative options: The best free photo editor 2020.
So how do I do it?
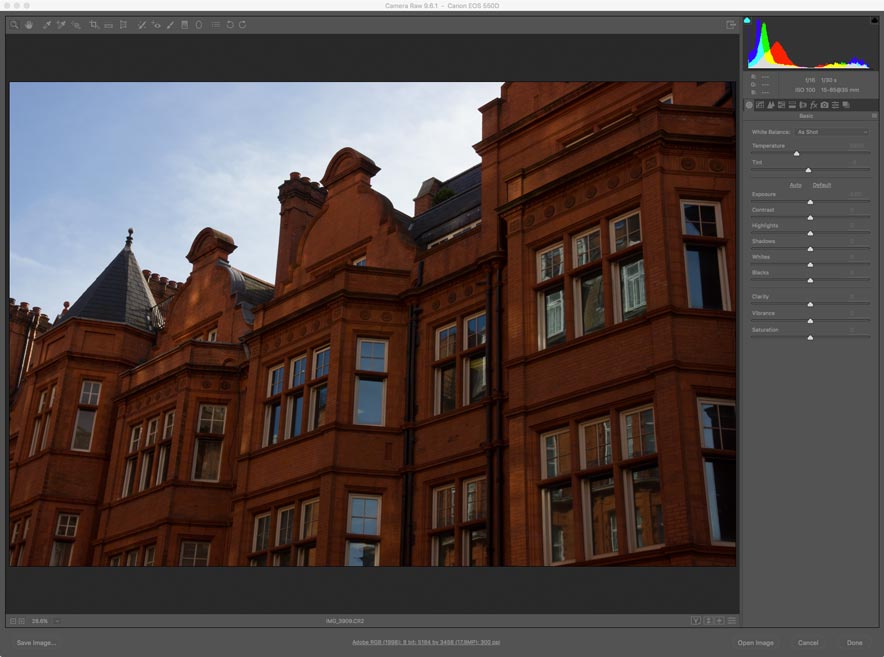
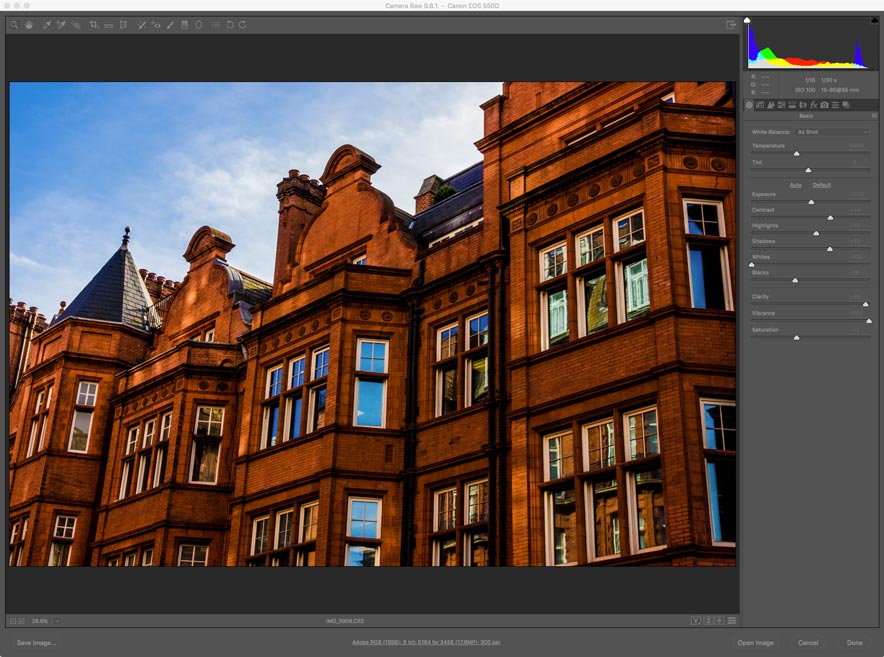
It’s dead easy! Once you’ve imported your snaps onto your computer you’ll note that they are now in a different format to normal (for Canon cameras the RAW format looks like .CR2 and for Nikon it’s .NEF). You should be able to open these using your chosen editing software, for me this is Adobe Photoshop. The image file should open in the program’s RAW image processing tool, displaying an array of options for you to play with. In my example below you can see these image settings down the right hand side:
By tweaking only the settings in the first panel I have been able to transform this dull looking photo of a building into something much more dramatic and impressive. This literally took me all of one minute!
Now all that is left to do is save it out and impress your friends, colleagues or clients!
Aside from the obvious improvements you can see in the photos above, I have listed out below what I feel the core benefits to shooting in RAW:
- Get the highest level of quality
- Record greater levels of brightness
- Easily correct dramatically over/under exposed images
- Get better detail
- Easily adjust white balance
- Select colour space on output
- Enjoy non-destructive editing
- Have an efficient workflow
- Get better prints
- The pros do it!
As this is meant to be an overview I will stop here. But there is plenty more useful and detailed information about RAW photography out there on the web.
I hope by now I have inspired you to make the very simple switch to RAW. I promise, you won’t look back…
Enjoy your new RAW power!


